
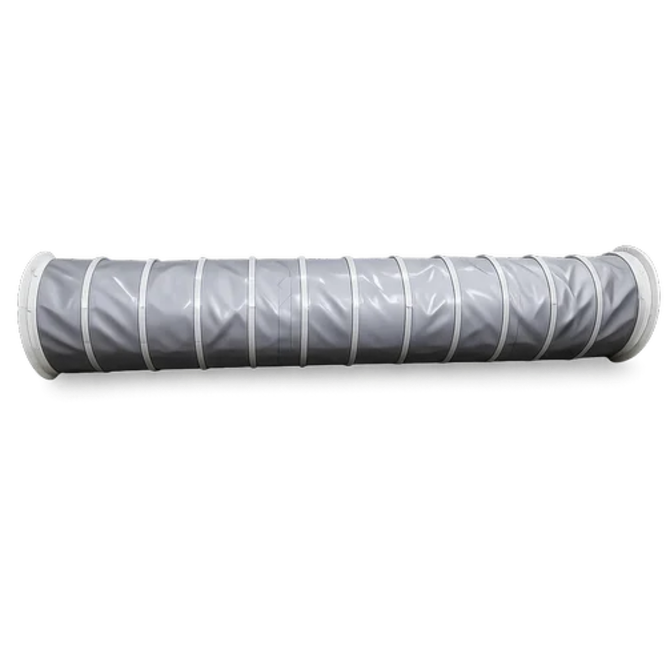
A damaged loading bellow can release fly ash, restrict spout travel and expose nearby workers before the tear becomes obvious. You will be able to isolate the equipment, identify the failure mode, choose between a controlled repair and replacement, and verify that the restored cover moves without creating a new dust leak.
Key takeaways
- Stop feeding, isolate energy, and depressurise before inspecting the cover.
- Match tears, abrasion, heat damage, and folds to their mechanical causes.
- Replace bellows when fabric, seams, or movement limits cannot be restored.
- Check alignment, clearances, travel, and flexing after every restoration.
How do you make a fly ash loading spout safe before inspection?
Stop the loading cycle before touching the cover. Close the material gate, stop the conveyor or screw feeder, and depressurise the conveying or extraction line under the plant procedure.
- Apply lockout and tagout to the loading spout, feeder, vehicle interface, and every automatic telescoping or counterweight system.
- Prevent vehicle movement with the site-approved isolation method.
- Allow airborne dust to settle, or remove it with the plant’s approved dust-collection system.
- Wear the respiratory protection specified by the plant risk assessment, plus eye protection, gloves, protective clothing, and safety footwear. Treat clothing and exposed surfaces as contaminated until housekeeping is complete.
| Cleaning method | Main risk | Correct use |
|---|---|---|
| Compressed-air blowdown | Redistributes respirable fly ash, reduces visibility, and can create a combustible-dust cloud | Do not use on the cover |
| Approved industrial vacuum or dust collection | Controls removed dust and limits contamination | Use for exterior cleaning under the plant procedure |
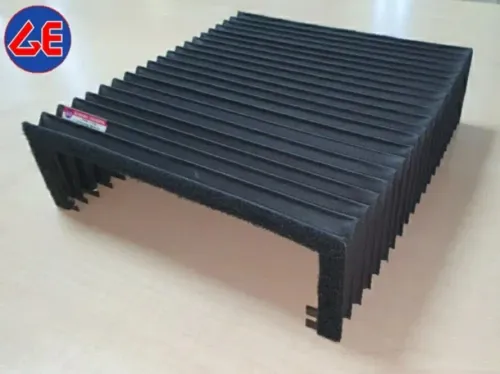
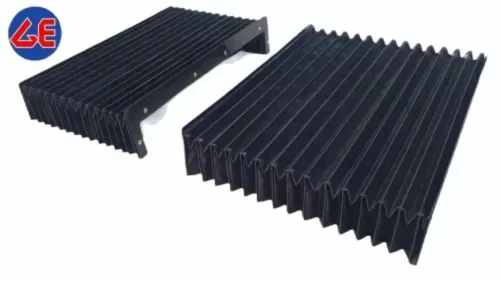
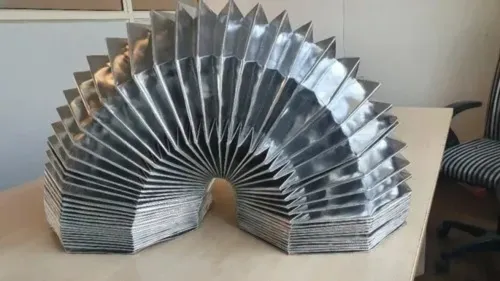
Vacuum the exterior before inspection. Examine the bellows fully extended and fully compressed, because compressed folds can hide fly ash loading bellow cover damage at creases, seams, cuffs, clamps, flanges, and contact points.
Photograph every fold, seam, cuff, clamp, flange, and contact point in both positions. Record material temperature, loading frequency, ash condition, cleaning method, spout travel, time to failure, and the operating position where the failure appeared. This record is more useful than one photograph of the visible tear.
How can you identify the damage pattern and its mechanical cause?
Match the defect to where the cover moves. A hole in a straight, accessible panel suggests a local puncture; a cluster of holes between folds points to abrasive fly ash or a worn liner. The pattern matters more than the largest visible hole.
- Torn fabric usually follows a contact edge or snag point.
- A split stitched seam leaves opened thread holes along the seam line.
- A detached clamp or pulled flange indicates attachment failure, not fabric-only damage.
- Crushed or inverted folds indicate over-compression, misalignment or an incorrect end stop.
- Shiny, thin areas indicate abrasion; bubbling or separated layers indicate delamination.
- Brown, brittle, charred or permanently stiff material indicates heat damage.
- Swelling, softening, cracking or a sticky surface indicates chemical attack.
- Hardened fabric has lost the flexibility needed to compress and extend without cracking.
Then inspect the mechanism that produced the pattern. Check the support ring, wear strip, clamps, guide cable, counterweight and limit stop for displacement, breakage or looseness. Confirm that the tanker inlet aligns with the spout, the spout does not move laterally, and the vehicle has not contacted the cover.
These are common bulk loading spout bellow problems. Cycle the cover fully extended and fully compressed; hidden folds can reveal rubbing or pinching. Replacing the cover without correcting a motion fault will cause another failure.
When should you repair the cover, and when should you replace bulk loading bellows?
Repair only a small puncture or short tear in a straight, accessible fabric zone surrounded by sound material. Keep the loading spout out of service while you clean and prepare the surface. Label the work temporary unless documented testing proves a service-life-rated repair.
| Decision | Defect pattern | Required action |
|---|---|---|
| Repair temporarily | One small puncture or short tear in sound, straight fabric | Use a specified patch zone; keep it clear of folds, seams, cuffs, flanges and concentrated contact points |
| Replace bulk loading bellows | Multiple perforations, exposed or broken reinforcement, delamination, heat hardening, charring or lost flexibility | Replace the cover and correct the cause of damage |
| Replace bulk loading bellows | Pulled-out stitching, torn end cuff or damage extending into the flange | Replace the cover, attachment or complete assembly as inspection requires |
Ordinary adhesive tape, silicone sealant and cable ties do not withstand repeated extension, fold compression, abrasion and dust loading. A one-sided patch can peel or curl when the opposite face flexes.
Never accept a patch that narrows the opening, catches on a guide, blocks the discharge path or uses protruding fasteners. If a wear zone causes repeated punctures, install a replaceable liner or sacrificial wear strip that cannot detach into the flow path.
Before replacement, check for a displaced support ring, broken wear strip, loose clamp, damaged guide cable or incorrect end stop. Compare a controlled outage with the risks of dust release, failed containment and another emergency repair.
How do you restore a flexible cover without restricting spout movement?
Correct travel comes from the loading spout’s movement, not the damaged cover’s dimensions. Measure the assembly before ordering:
- Compressed length and extended length or stroke
- Internal and external diameter
- Fold count and fold pitch
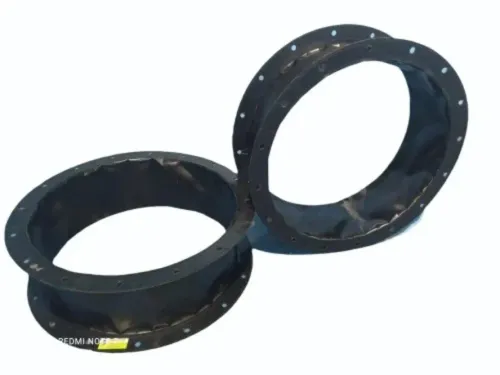
- Mounting flange or clamp details and bolt pattern
- Fabric construction and temperature range
- Liner or wear-strip requirement
Nominal diameter alone cannot confirm correct travel or sealing.
| Option | Scope | Use when |
|---|---|---|
| Cover-only repair | Patch or reinforcement on sound fabric | Damage is local and the supporting hardware is correct |
| Complete restoration | Cover plus clamps, flanges, guides, stops or liners | A component displaces, rubs, leaks or carries side load |
Keep any patch or reinforcement outside the fold radius unless the repair specification explicitly permits placement there. Set the cover’s neutral position to the spout’s neutral position, then tighten clamps evenly without cutting into the fabric.
With the spout isolated, cycle it slowly from fully compressed to fully extended several times. Confirm that the cover does not invert, pinch, rub support hardware or carry side load. Inspect hidden folds after every cycle, and check the opening and discharge path for reduced area, loose material or fasteners.
Where static ignition is credible, verify grounding and bonding across conductive fabric, clamps, flanges, ductwork and the receiving vehicle. Conductive fabric alone does not prove continuity. For repair damaged fly ash bulk loading bellow covers in bangalore, give the supplier temperatures, cycle frequency, spout travel, ash condition, cleaning method and photographs from both travel positions.
GURUKRUPA BELLOWS PVT LTD can help compare cover-only repair with complete restoration when the quotation identifies every included component.
Related products
 | Fly Ash Bulk Loading Spot Bellow Fly Ash Bulk Loading Spot Bellow ₹10000 Product Details: Minimum Order Quantity 01 Number Brand GURUKRUPA Size ANY We manufacture a wide range of Fly Ash Bulk Loading Spot Bellow in various... View product → |
 | Cement Plant Bulk Loading Unloading Bellows Cement Plant Bulk Loading Unloading Bellows ₹5000 Product Details: Brand GURUKRUPA Size ANY Having rich experience and thorough understanding of the market operations, we are engaged in manufacturing... View product → |
How do you prevent the restored bellow from failing again?
A restored cover fails again when inspection stops at the visible leak. Build fly ash bellow cover maintenance around controlled dust removal, hidden-fold inspection and records that reveal how quickly each defect develops.
1. Isolate the spout, then vacuum dust from the outside. Inspect between folds, around internal liners and at support hardware. Clean exterior surfaces do not prove that abrasive ash has left hidden areas.
2. Set inspection intervals by loading cycles and previous failure history. Add an inspection after a jam, vehicle impact, abnormal spout travel or high-temperature event.
3. Record fold condition, seam opening, clamp position, flange movement and the time taken for each defect to develop. Check guide cables, counterweights, support rings, wear strips, end stops and tanker alignment during the same inspection.
4. Do not classify fly ash as non-combustible merely because it is an ash residue. If the source process creates a credible combustible-dust hazard, obtain a representative sample and document the dust-hazard assessment. Use the plant’s approved respiratory protection and housekeeping procedure for every cleaning task.
5. After replacement, retain the complete specification and cycle-test record. Review the first operating cycles for dust escape, abnormal rubbing, fold inversion and clamp movement.
A cover-only replacement is incomplete when the flange, collar, extraction connection, guide hardware, grounding path or limit device is damaged. Correct those faults before returning the loading spout to service.
Frequently asked questions
How do you make a fly ash loading spout safe before inspection?
Stop the loading cycle, close the material gate, isolate the conveyor or screw feeder, and depressurise conveying and extraction lines under the plant’s lockout procedure. Confirm zero movement and pressure before touching the cover.
How can you identify the damage pattern and its mechanical cause?
Inspect the full travel path for abrasion, pinched folds, uneven stretching, heat damage, dust ingress, loose clamps, and seam failure. Compare the wear location with spout alignment, guides, cable or hose routing, and travel limits.
When should you repair the cover, and when should you replace bulk loading bellows?
Repair limited surface damage only when the fabric, reinforcement, seams, and attachment points remain structurally sound. Replace the bellow when tears extend through layers, seams pull apart, material has hardened or burned, or the cover restricts movement.
How do you restore a flexible cover without restricting spout movement?
Use the correct fabric construction, dimensions, fold spacing, mounting rings, and attachment method. Install it without twisting or over-tensioning, then cycle the spout slowly through its full travel and check for rubbing or compression.
How do you prevent the restored bellow from failing again?
Correct the original cause before restarting. Verify alignment, clearances, guide condition, clamp security, heat shielding, dust extraction, and cable or hose routing, then record inspection findings and planned maintenance intervals.